An Overlay shader is like a global Post Processing Volume (effect the changes the rendered result on the whole screen), but it can be local. You can assign the material to a sprite or UI to restricted its effect only in that space.
However, to achieve this effect is not very intuitive. Here I summarize the most basic process that I extracted from URP2D samples.
Unity Version: 2022.1.0f1
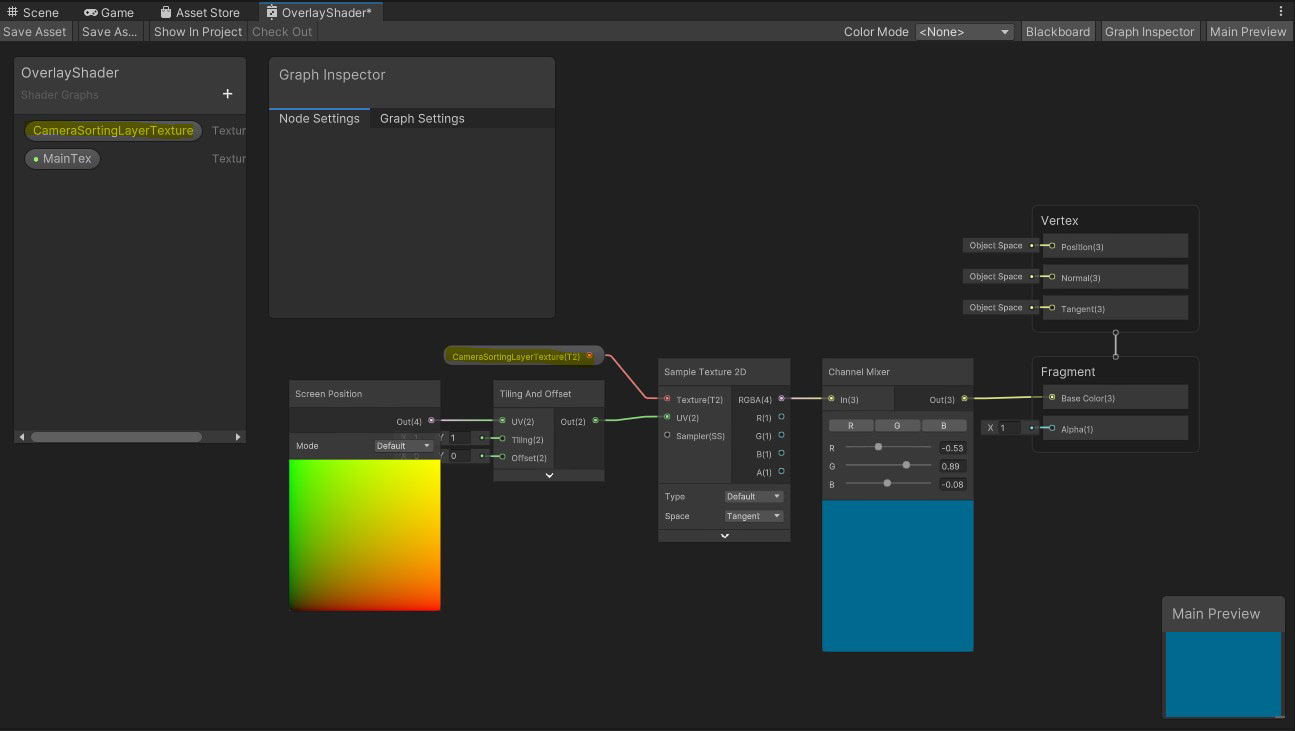
First, setup a shader. Here I used Shader Graph for simplicity. The key here is to create a Texture2D that is exactly called CameraSortingLayerTexture (its variable name MUST BE _CameraSortingLayerTexture). And you must set its Exposed field to false. This texture is essentially your rendered result of specific sorting layers. If you sample this texture and feed it directly to Base Color, you will get something that is transparent since it just copies the rendered result.
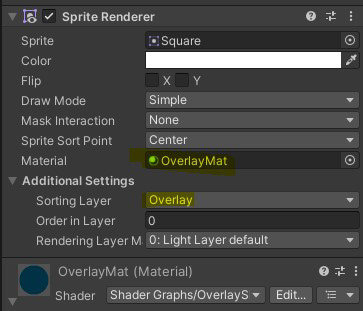
Next, create and assign the material to a sprite renderer or Image.
Create a new Sorting Layer called Overlay or whatever you like to call it and set the sorting layer of your Sprite Renderer to that.
Well, nothing has changed... there is still one final step.
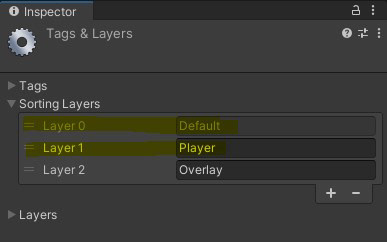
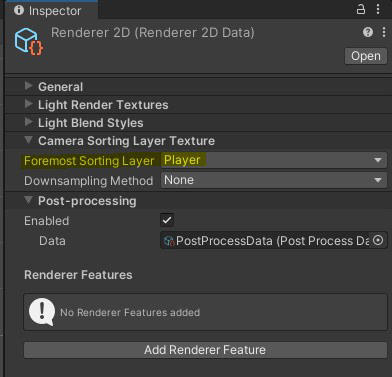
The final step is to find your Renderer 2D Data asset and set the Foremost Sorting Layer to a layer below your Overlay layer. Here, I set it to Player. This means the CameraSortingLayerTexture will receive the combined rendering result of anything on or below Player layer. By below, it is related to the layer's ID ( Layer 0, Layer 1 ...). And now you should see a local overlay effect.
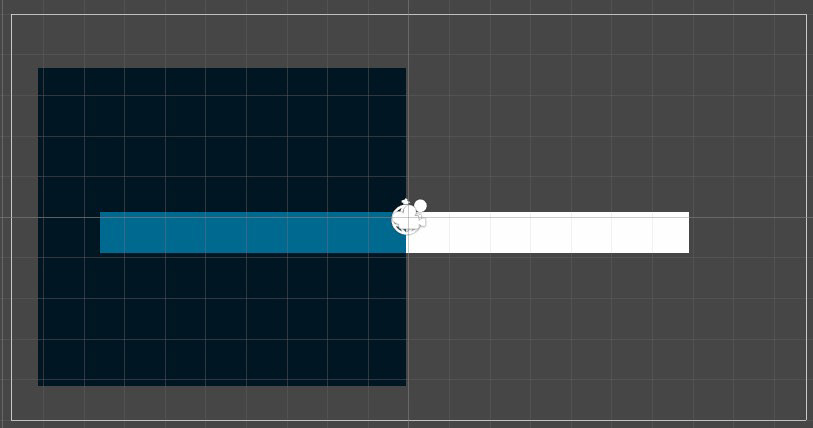
Tiny little demonstration. Note that the UI is not affected by the shader at all.